
WordPress is the undisputed king of the blogging platforms. Over 76.5 million blogs are hosted on WordPress, and this number is increasing at a steady pace.
An important decision that faces all WordPress users is the choice between the self-hosted WordPress website and the WordPress.com hosted website. Many users start with a WordPress.com hosting and soon discover that the hosting plans do not offer the complete range of plugins and themes that allows them to utilize the platform effectively.
At this point, many people decides to migrate to a self-hosted WordPress.org platform. However, the move appears very daunting because of the fear of a broken website. Here is a systematic guide for moving your site and its content from WordPress.com to WordPress.org.
Login to your WordPress.com dashboard, go to the My Site >> Settings tab and hit Export button to get the XML file.
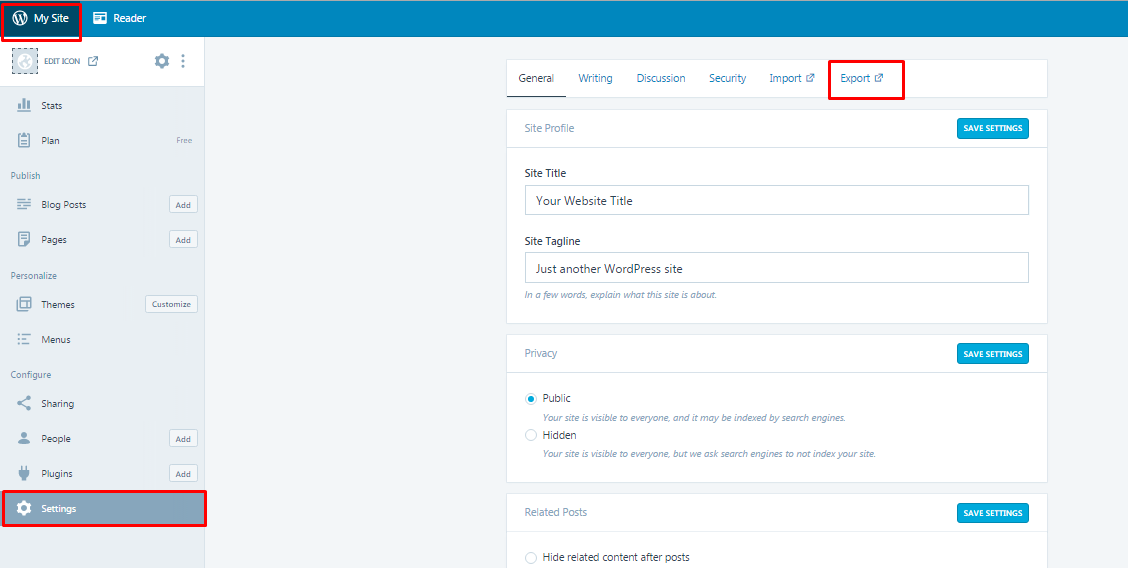
Another way to export from the WordPress dashboard starts with adding /wp-admin after your domain name. Once logged in, click on Tools, and select Export. Choose what to export by clicking All Content, and then on Download Export File.
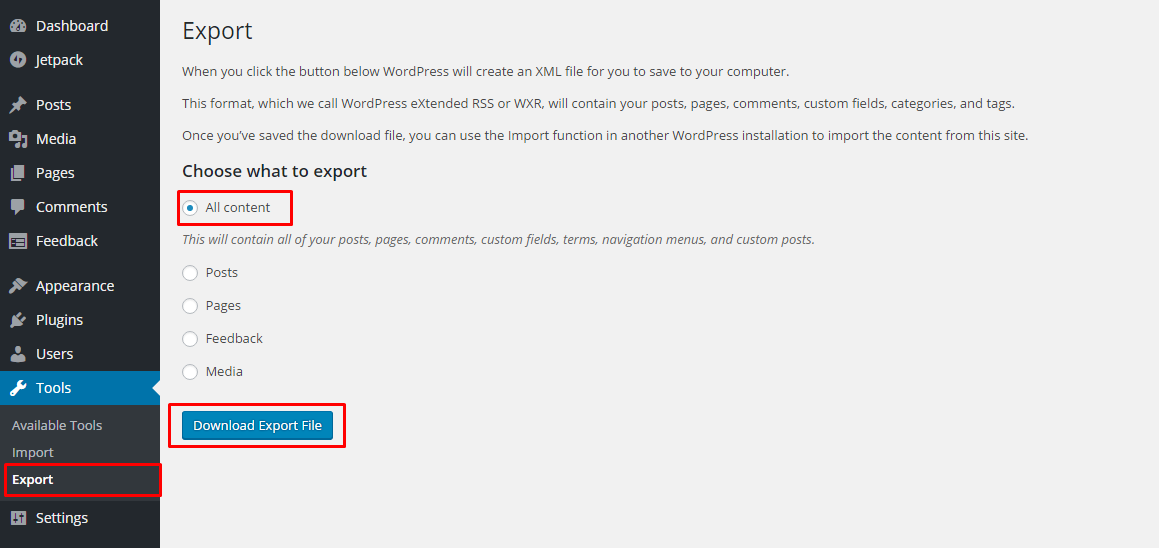
You will notice that an XML file has been downloaded which contains the WordPress.com content, including posts, menu items, all the pages and media images.
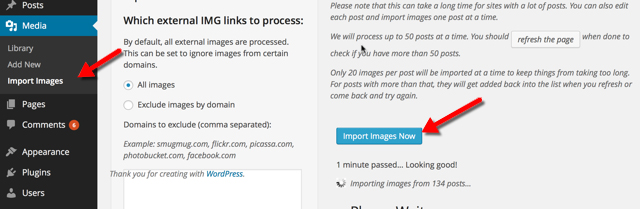
Note: Double check whether the images have been successfully exported. If not, you can try a plugin, Import External Images

You can easily find the plugin in WordPress Plugin Directory and install it through WordPress dashboard. Or you can always choose to download it directly from Plugin directory of WordPress and install it manually.
Once you have activate the plugin, go to Media >> Import Images and click on Import images Now
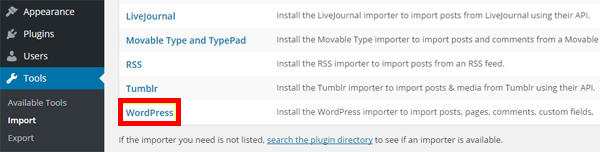
Next, you need to install WordPress on your self- hosting host. Once finished, login to the Dashboard, select Tools, and click on Import.

At the very end of the list, you will see WordPress, which actually refers to the WordPress Importer plugin that enables you to import pages, posts, tags, categories, custom fields, comments and menu items from the XML file.
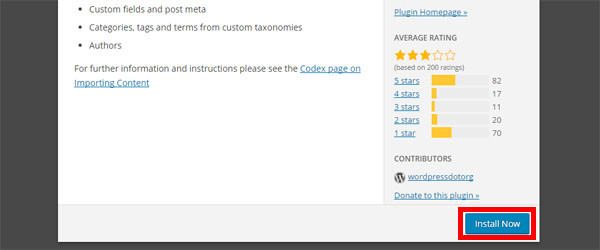
A new window will pop up showing the details of this plugin. The WordPress Importer is a great tool that streamlines the entire process of content migration. Moreover, it is an official product from the WordPress team. Click on Install Now. After the installation is complete, activate the plugin.
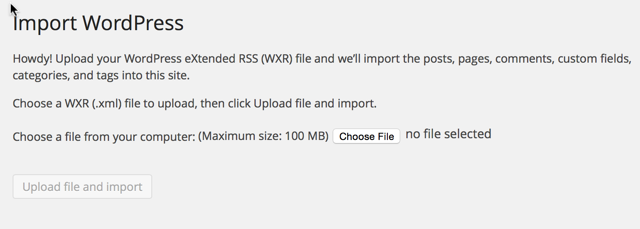
Launch the plugin, and click Upload file and import. Select the XML export file you created earlier to initiate the process.
Next, a screen will appear on which you will be given option of assigning new authors to the posts. If you want to assign new authors, you can create a new user with a unique username. Otherwise, you can choose one of the existing authors from the drop-down list.
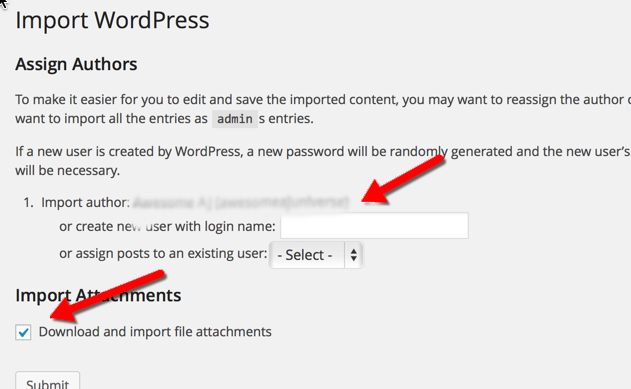
After this selection, check the Download and Import File Attachments box. This will transfer all your images and attachments to their new home. Finally, click Submit.
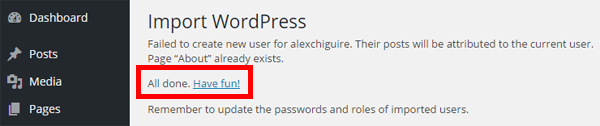
Once the import process is completed, a confirmation screen will appear telling you All done. Have fun!
Congratulations, you have made it to the final step. This step is very important, as you need to make sure that all the traffic you used to receive on your WordPress.com blog is redirected to your new site. You can use an add-on called Site-Redirect that will automatically redirect the visitors for just $13/year. To buy this add-on, login to the WordPress dashboard, click on Settings >> Redirect
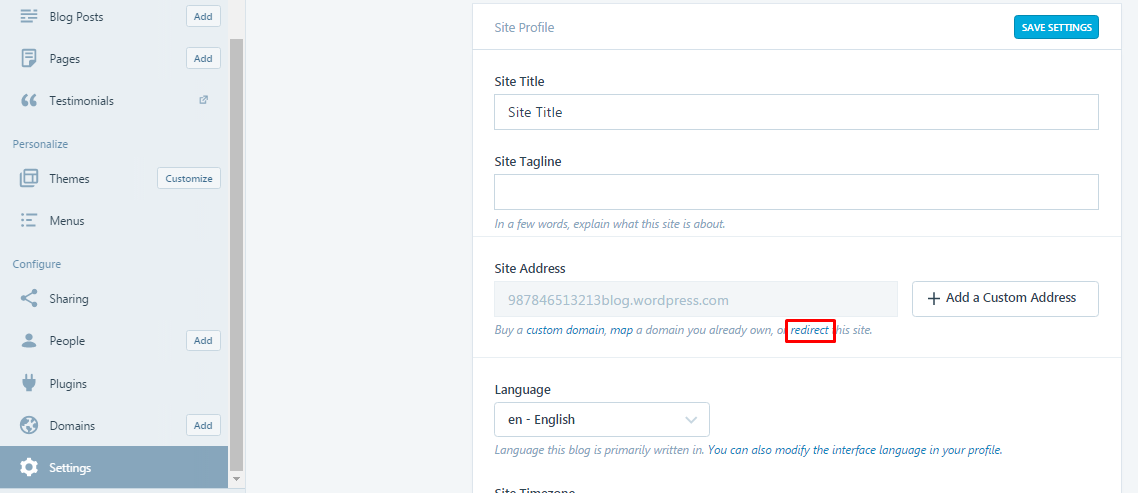
Now all you have to do is enter your domain name and it will take care of all your 301 redirect requests.

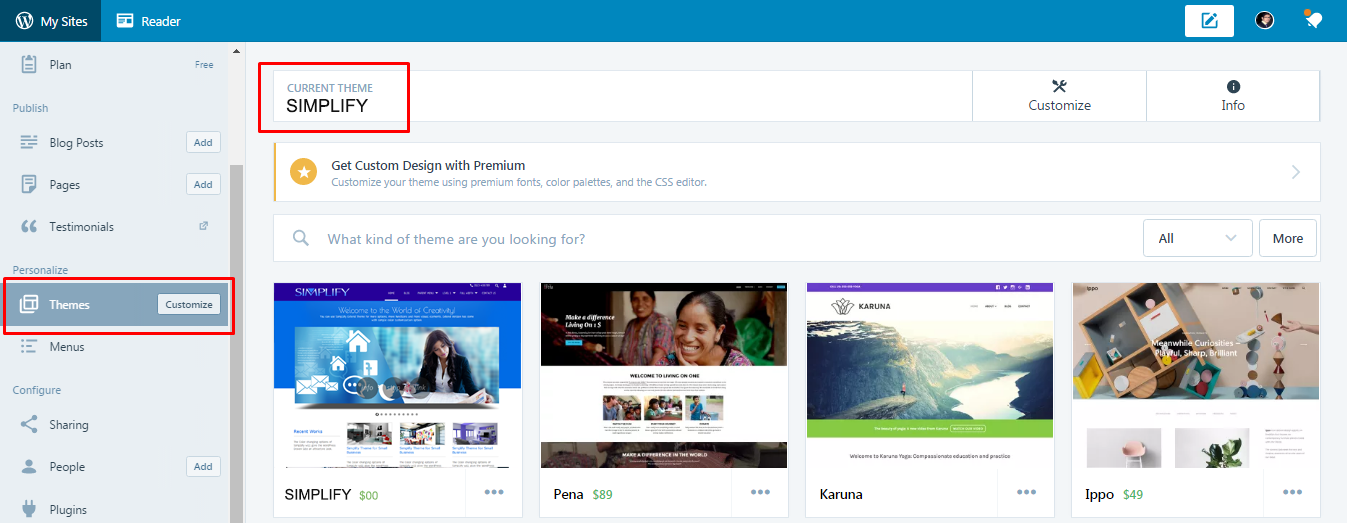
If you are looking for the same theme as the WordPress.com website, the process is pretty strightforward. First, find the name of the theme under Themes >> Current Theme
Now visit the self-hosted WordPress website and go to Theme appearance >> Add New and search for the name. Suppose, you can find one of the most 05 Popular WP Themes SIMPLIFY searching there.
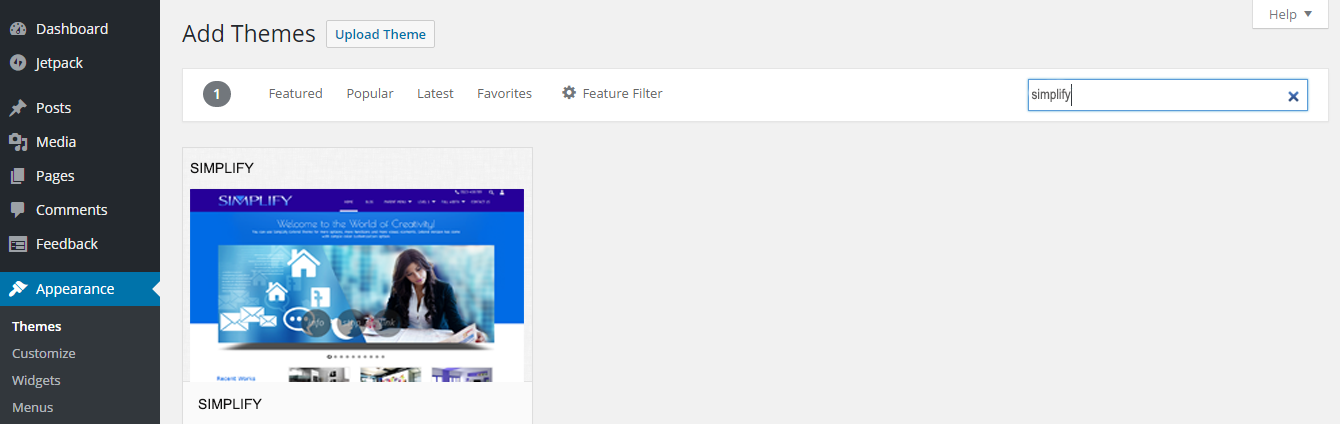
Install and activate the theme.
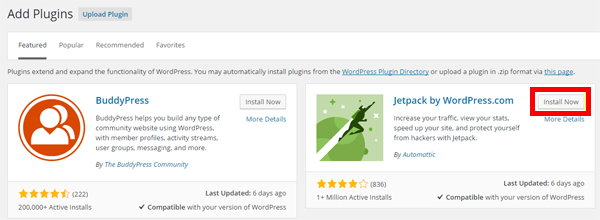
Now that you have successfully migrated and have setup redirection, you could add a host of functionality by installing the Jetpack plugin. The best thing about this plugin that the experince of using the self-hosted website becomes very similar to the WordPress.com website. How to Install JetPack
Go to the Plugins tab within the Dashboard and search for Jetpack plugin. Install it.
Make sure you connect your Jetpack with your WordPress account.
Once you’ve installed Jetpack, you can also import your WordPress.com subscribers to the new site using the built-in subscription migration tool.
And that’s about it. You are all set to continue with your blogging on your new website!
Comments are Closed